
Pinterest is full of gorgeous images of
beautifully curated craft rooms. Not a thing out of place. Big rooms, small
rooms, cupboards and corners, the possibilities are endless but they are always
beautiful, colourful and spotless.
Added to this there are many blogs out there
detailing how to set up a craft room, how to curate your stuff, beautiful
storage solutions - both bespoke and off the shelf but what none of them tell
you is how to maintain the space once you've set it up. Most fail to plan for
future purchases or even the practicality of creating in the space.
Systems fail when they're too complex to
maintain. Simple is best. But how does that work in a room that is like an Aladdin’s
cave? A room stuffed to the gills with every craft material you've ever bought
but perhaps never used?
After we moved house three years ago, I
achieved the unthinkable – a whole room of my own for crafting and creating.
To start with I used the furniture we had, a
motley collection of storage cubes teamed with a desk and credenza bought for
an entirely different shaped room. And I made these things work while I dreamed
of a Pinterest-worthy space. I was happy here and spent many hours creating.
Meanwhile I planned my ultimate craft room for
over a year. I measured my space and drew up plans, then I redrew them. I
visited IKEA and Howard’s Storage World and redrew my plans again.
I planned and re-planned. I took stock of what
I had and then planned again.
Before I bought a single piece of furniture I revisited
every item in my crafting supplies from rulers to fabric squares and scraps of
paper to ribbon and wool. I knew exactly what I owned and what I was never
going to use. I attended a crafting event and sold my unwanted supplies to
raise money for charity. I donated the rest of my still over-abundant supplies
to various school and church groups and I felt lighter and more focussed. I was
ready to build my dream room.
My existing furniture went into my husband’s
studio and suddenly I was faced with an empty room. My hours of dreaming and
planning were put to the test as I bought and assembled the storage units I had
decided upon.
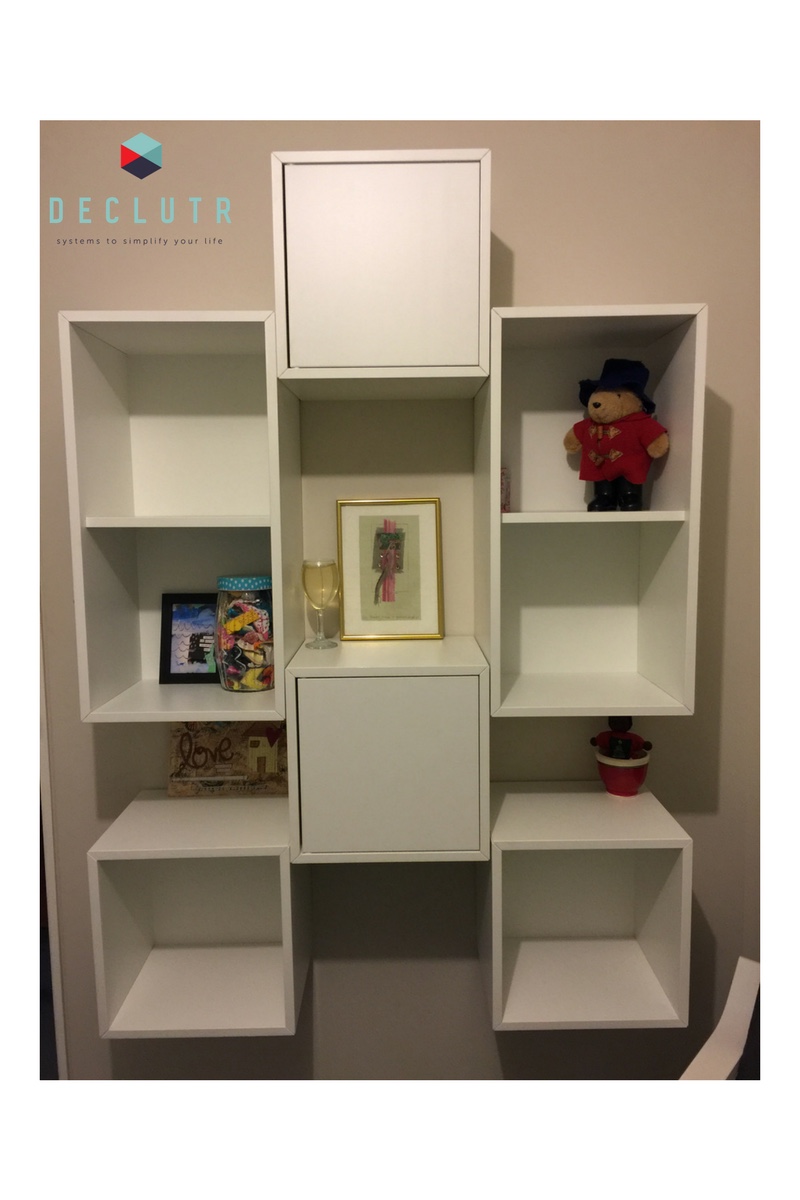 |
| I mounted these cubes to the wall. They are both functional and decorative |
I have to admit feeling a level of fear and
trepidation as I filled my shelves with my carefully chosen supplies but
everything fitted, with space to spare and the room was beautiful –
Pinterest-worthy even. And just between us, for a while I was too scared to use
it in case things got out of place. But I soon got over that and I can now
spend hours happily crafting and creating.
 |
| IKEA's kitchen shelves and rails are a great addition to your craft room |
So, what did I learn?
- Shop smart - stop auto subscriptions. Whilst beautiful these subscriptions tend to be the very things that are stashed away and never used because they weren’t bought with a particular project in mind.
- Be clever and creative with storage ideas. Use what you have. A successful room is one that suits your needs not something from the pages of a magazine.
- Future proof. Don’t plan a craft room that can only house the supplies you have now. Like any good storage solution, it should only be 70 per cent full.
And the key to maintaining the craft room of
your dreams?
Simple.
Put stuff away.
Make sure everything has a home, even those
works in progress. Only too often I hear the words – my craft room is a
disgrace! And the messier a room becomes the less likely you are to use it and
the less likely you are to use it, the more likely it is to become a dumping
ground. Stop the cycle before it begins.
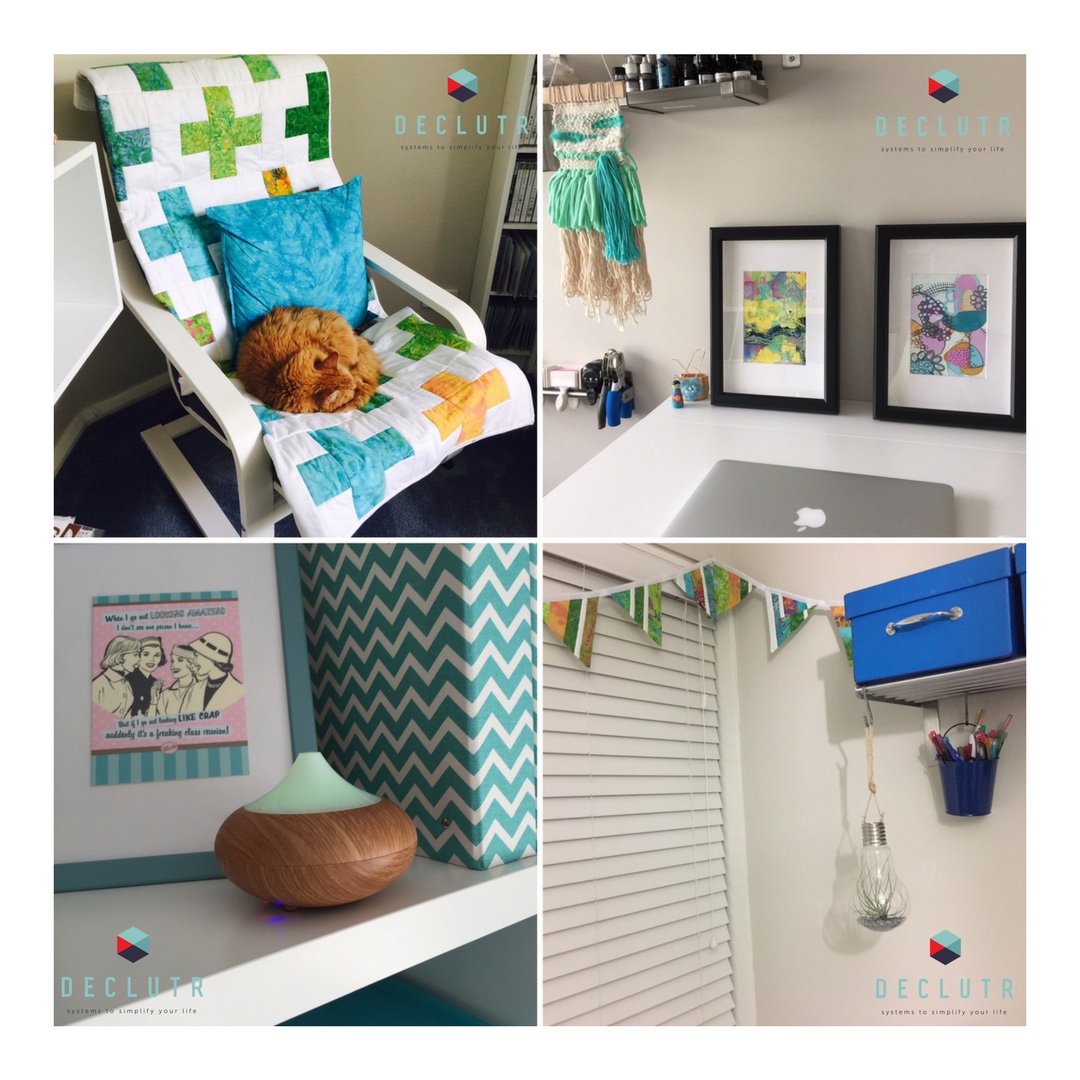 |
| The finishing touches |